
Full spectrum photography
A couple of months ago, MBW introduced me to the awesome/nightmare/shitshow/opportunity that is Facebook Marketplace, as part of buying a new dining table. Since then, I’ve dabbled with it a few times, and it’s been an overwhelmingly positive experience. FB Marketplace has so far led to my 8mm fisheye Pro lens, my new EDC camera (the cult-favourite Pen F), and the subject of today’s post – a full spectrum-converted Olympus E-M5.
The E-M5 is over 12 years old, has a 16MP sensor, and was considered an “enthusiast” level camera when it was brand new, settling right in between the more entry-level E-M10 and the professional-grade E-M1. While it has weather sealing and 5 axis IBIS, it’s running a much older processor (the TruePic VI – the current version is four generations newer at this point) and has a tilting (but not fully articulating) screen. So why am I excited about this older camera body, and why would I take it out instead of my OM-1 or Pen F?
Full-spectrum photography.
For a super novice explanation, camera sensors can detect a much wider range of light wavelengths than the human eye can actually see (which is typically called the visible spectrum of light). As part of the manufacturing process, filters are permanently attached to the sensor to restrict the range of light that strikes the sensor to be (almost entirely) the visible spectrum. However, by removing this filter from the sensor, the camera can be “converted” to capture a different spectrum of light – either being restricted to a different subset of the spectrum (typically a particular wavelength of infrared light), or being allowed to capture the full spectrum of light the sensor is capable of detecting – a “full spectrum” conversion.
Taking photos with a full spectrum camera is originally underwhelming – it looks like a normal photo, but the colours are muddy and weird, a little washed out, and it generally looks pretty unappealing –
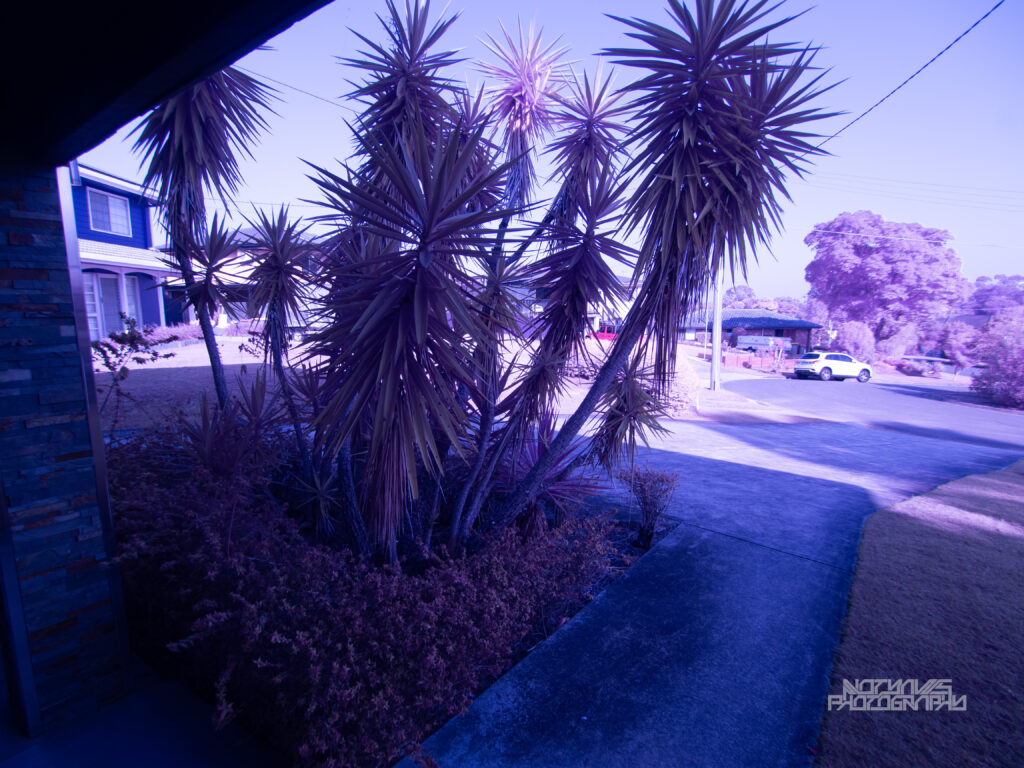
It’s kinda interesting in a vintage/retro styling, but not a super useful picture.
To complete the usefulness of this setup, you need to add filters. In my case, I’ve gone with lens filters from Kolari Vision that screw onto the lens thread mount of my lenses, and restrict the wavelengths of light that are allowed through to the sensor. In effect, each filter allows this camera to act as a dedicated converted camera for a number of different types of photography.
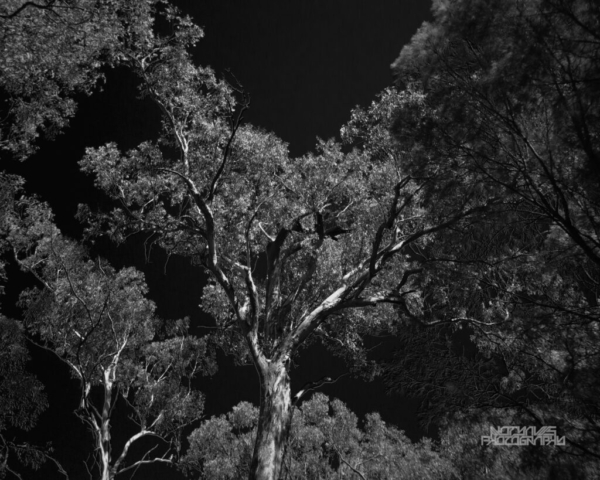
The camera I bought from Marketplace came with two of these filters, a UV/IR Cut Hot Mirror filter (that basically allows light from the visible spectrum through to the lens, converting the camera back into a normal camera) and a UV bandpass filter which allows for light in the 365nm (ultraviolet) light to be captured. While nice to have, I also ordered a few new infrared filters to experiment with, the IR Chrome and Candy Chrome filters.
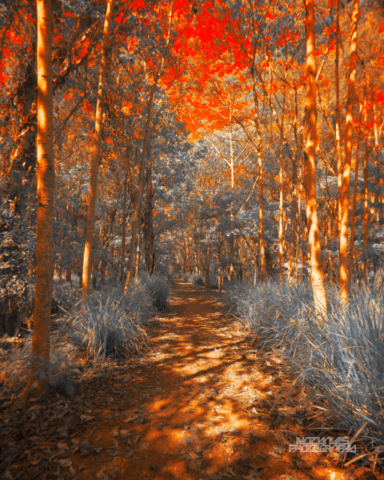
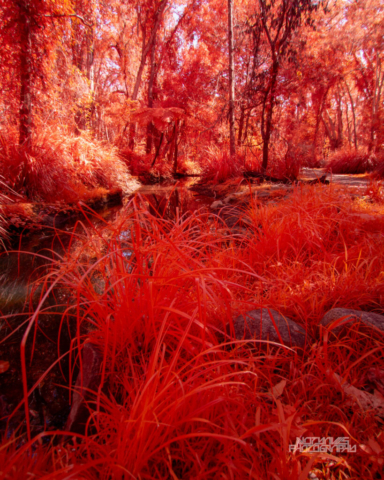
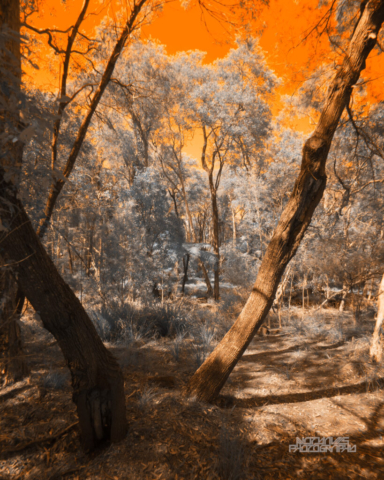
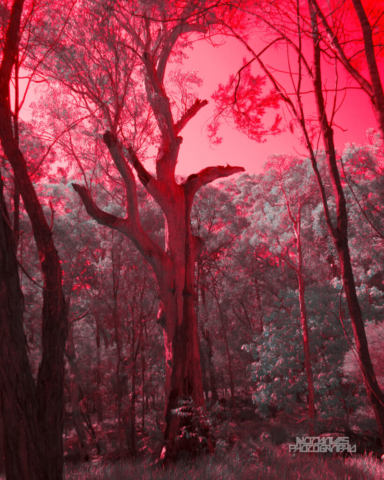
IR Chrome
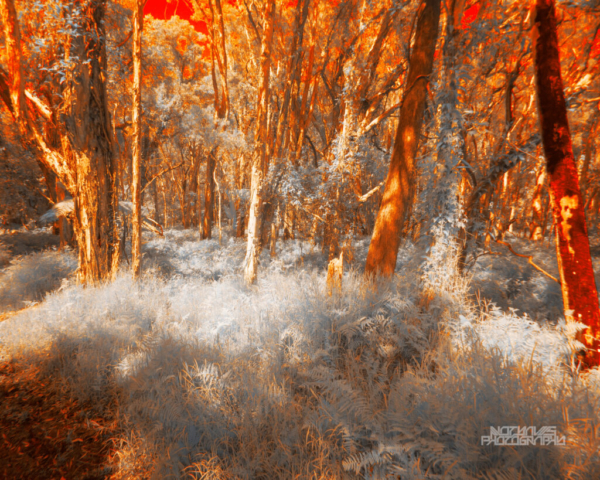
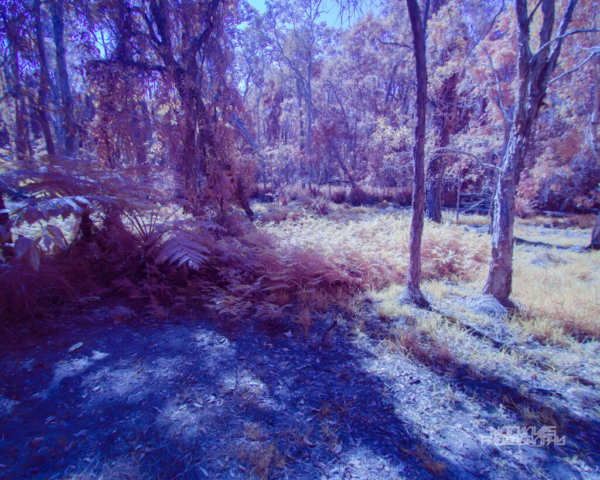
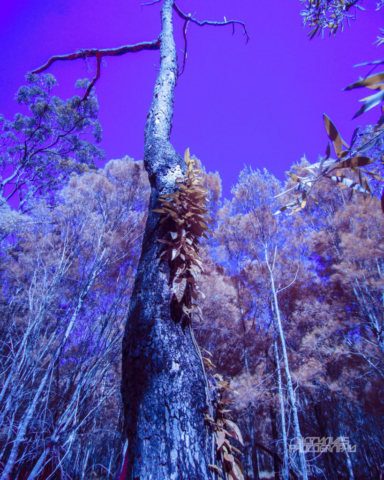
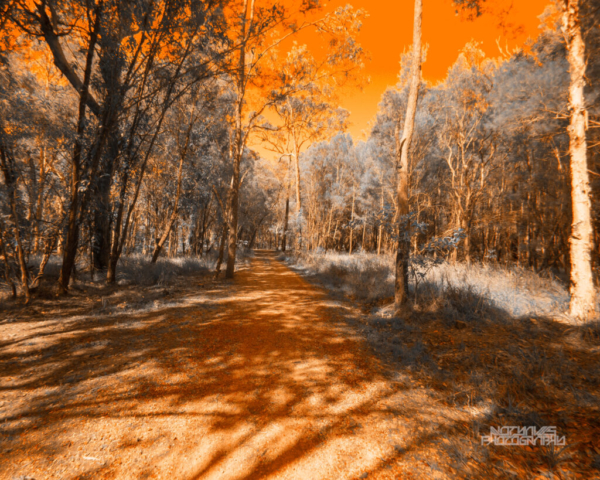
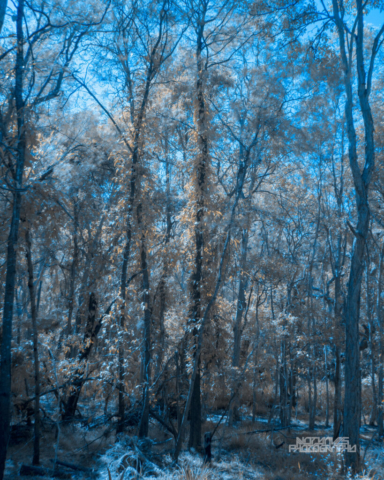
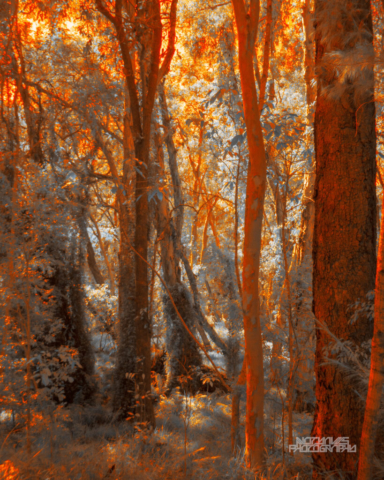
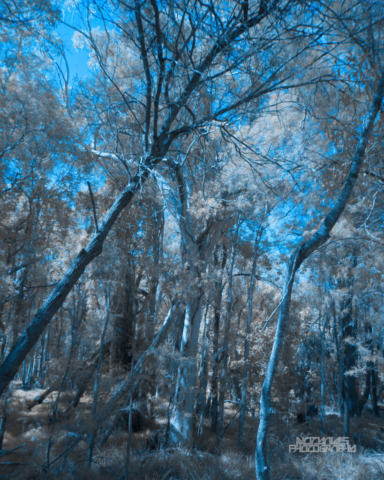
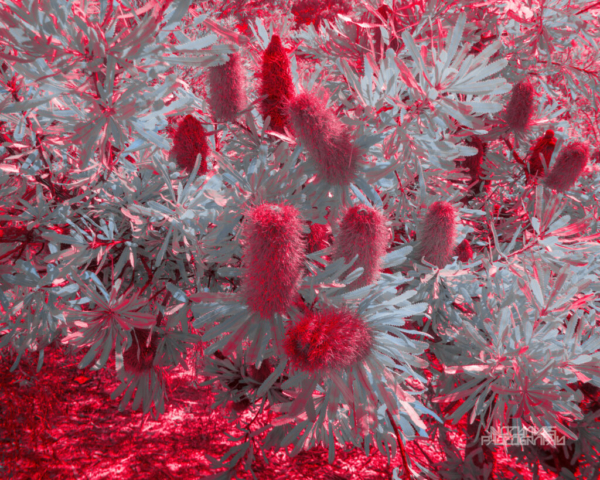
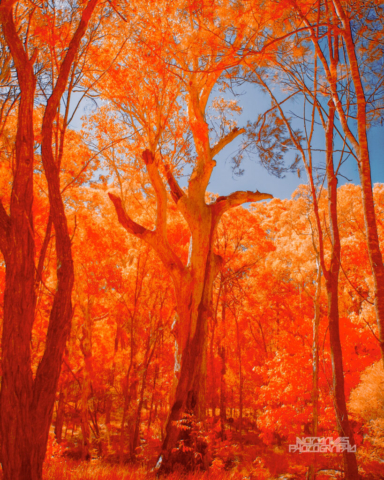
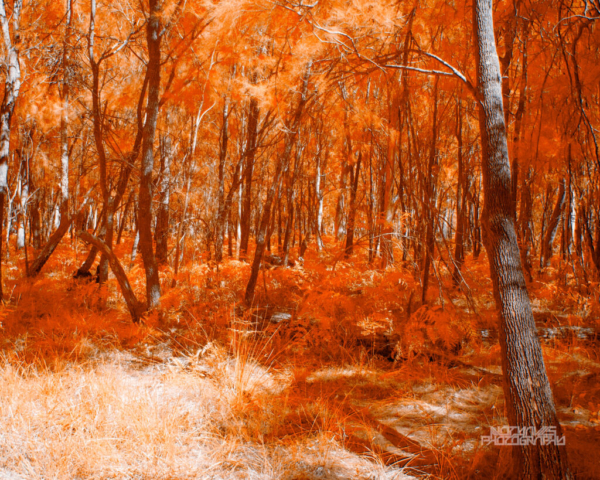
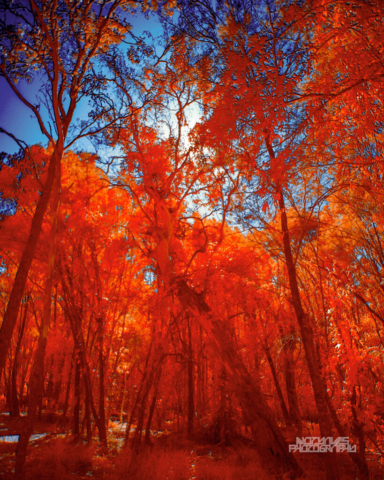
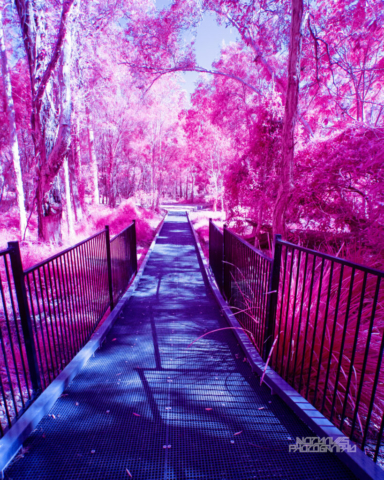
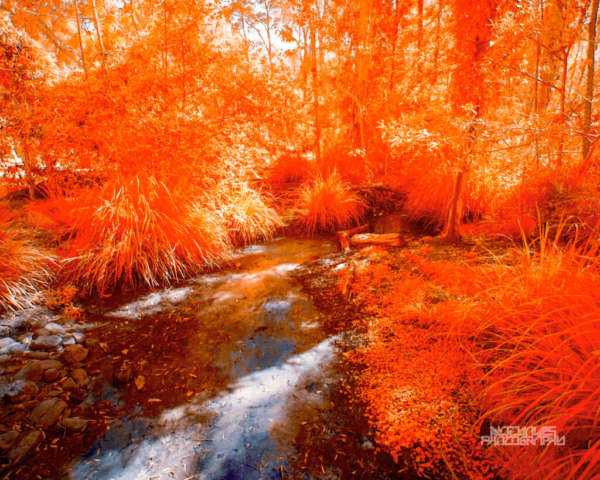
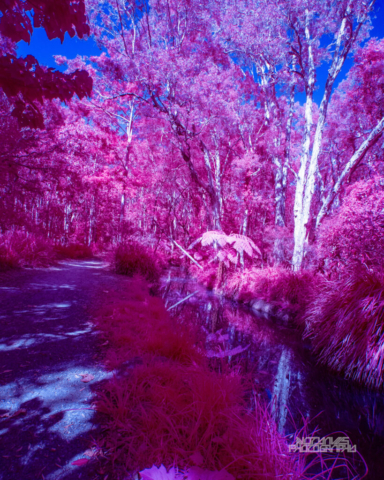
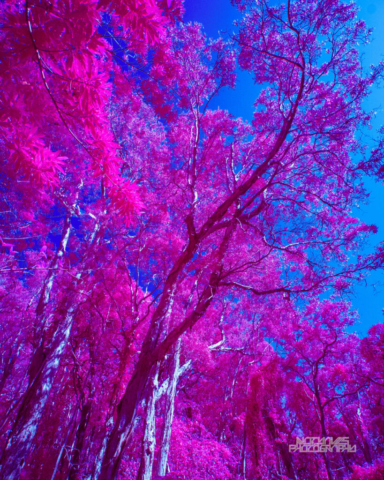
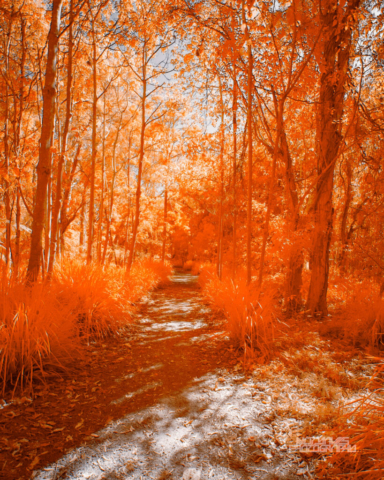
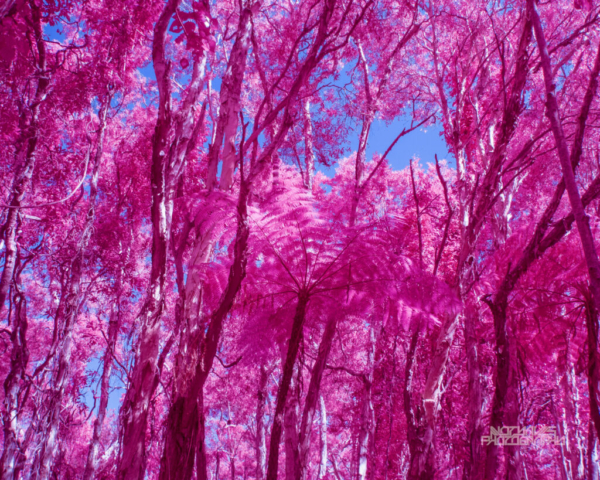
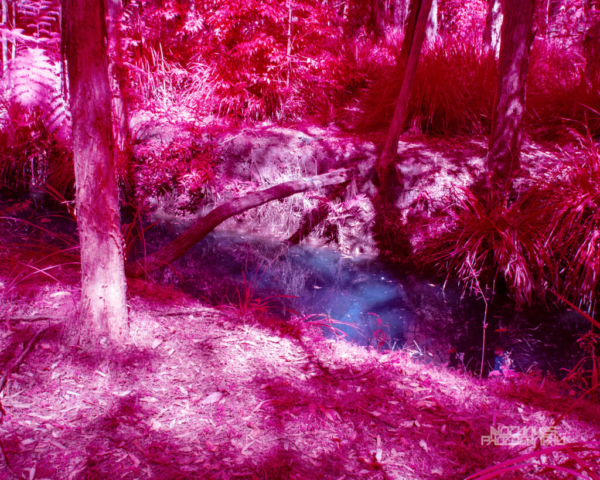
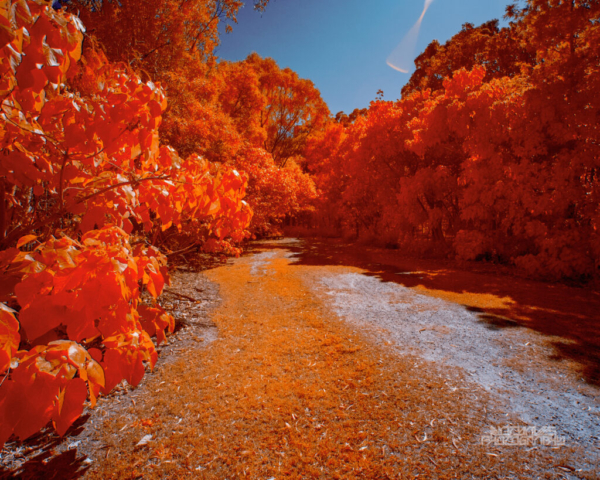
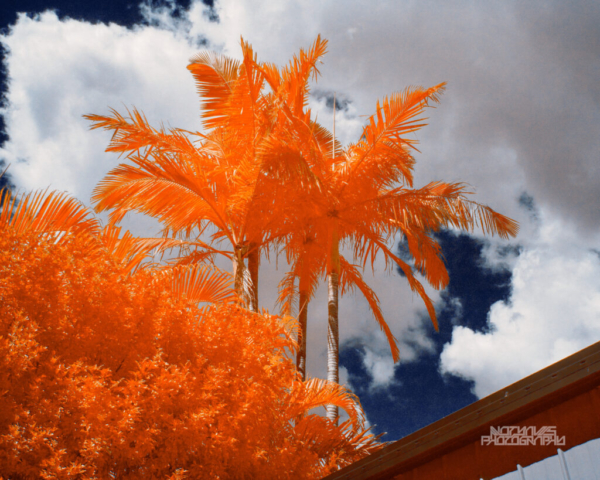
This filter is the one that got me interested in full spectrum photography to begin with, as it’s a way of recreating the iconic Kodak Aerochrome look without the prohibitive cost and logistical nightmare that is actually buying Aerochrome. I’ve only had a single shooting session with this setup so far, but the resulting sample images were enough to prompt me to write up this post! (Click on any of the images below for a larger view)
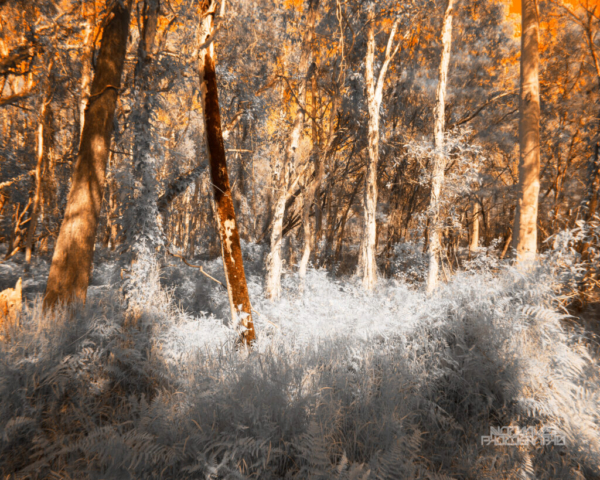
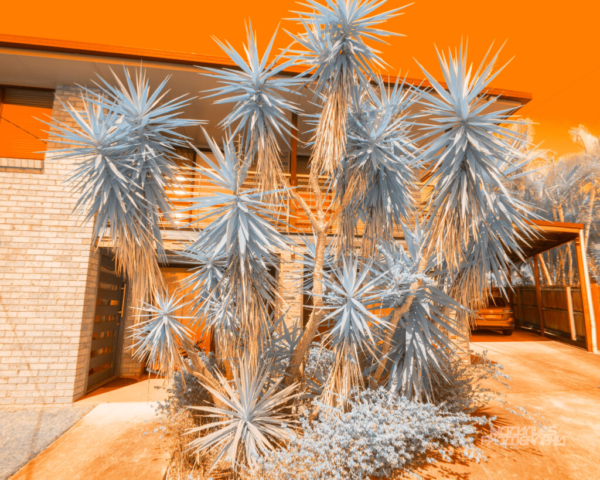
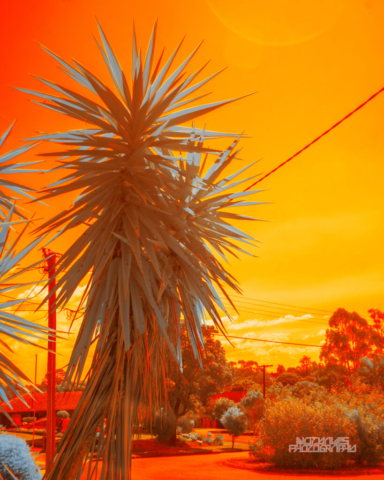
Candy Chrome
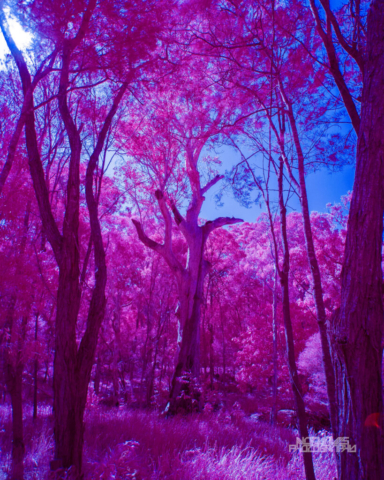
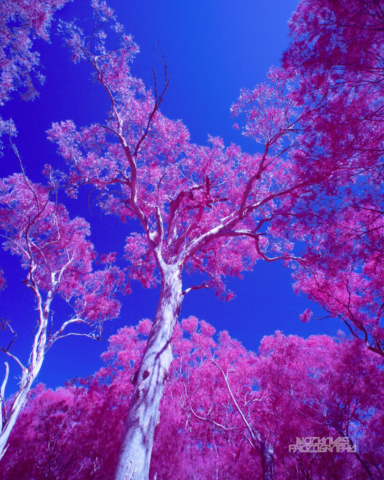
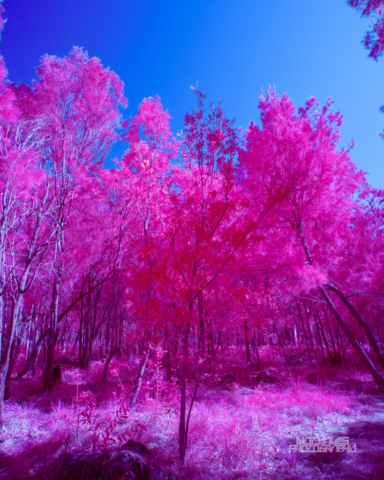
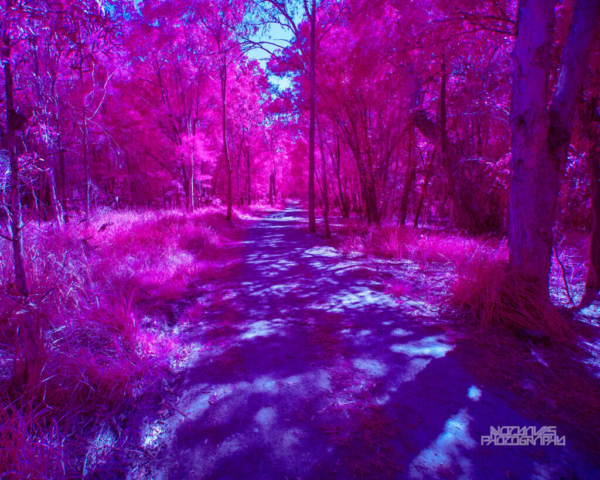
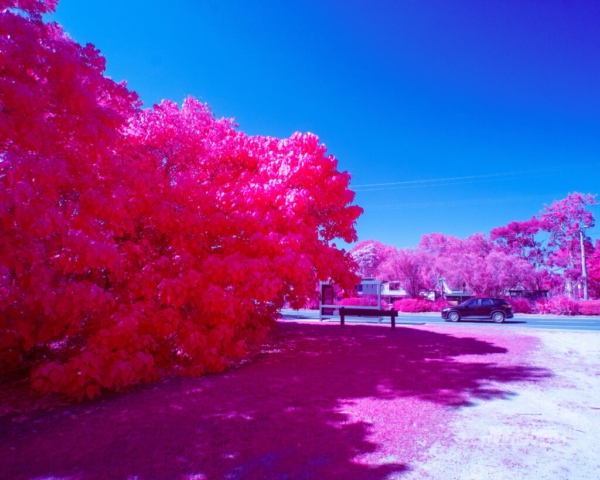
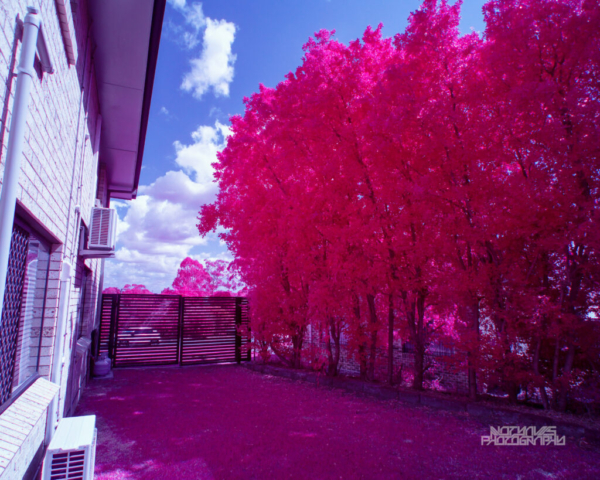
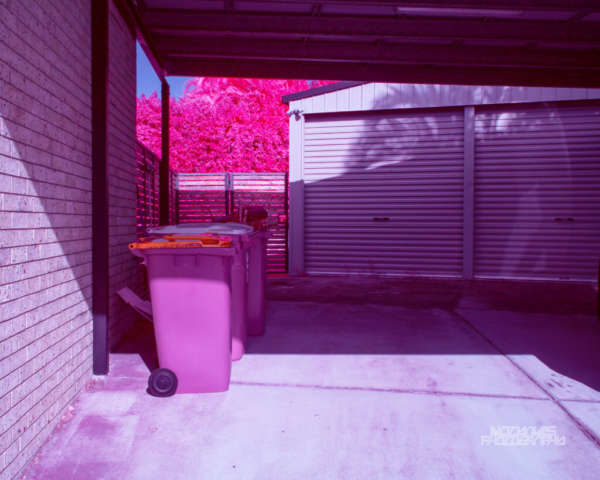
A similar-but-different take on the IR Chrome formula, it allows for similar results, but using different colours and in different combinations. I probably didn’t really need both, but I enjoy having access to the variety!!
What do you think? Personally, I’m really enjoying the look, it’s otherworldly at times. Yet another mode of shooting to experiment with!



One thought on “Full spectrum photography”
Keep on writing, great job!